June 14, 2026
A professional window project can feel like a major improvement, especially if you have never had windows removed and replaced before. The process may involve measurements, product selection, preparation, installation, cleanup, and final checks, but a qualified team helps each step feel manageable. When homeowners understand what to expect, they can plan their schedule, protect their space, and feel more comfortable while work is being completed.
Window replacement is also more than a visual upgrade. New windows can help address drafts, worn frames, difficult operation, moisture concerns, and outdated materials. While each property has its own needs, the overall project usually follows a clear sequence from the first consultation to the final walkthrough.
Reviewing the Current Windows
The first step usually involves a careful review of the home’s existing windows. A professional may look at the frame condition, glass performance, hardware, opening size, interior trim, exterior materials, and signs of air or water intrusion. This inspection helps determine whether the project is straightforward or whether additional repairs may be needed before new units are installed.
During this stage, homeowners can explain the issues they have noticed. Some people are concerned about rising energy bills, while others want better curb appeal, improved ventilation, easier cleaning, or windows that open and close smoothly. A thorough conversation helps the installer understand the goals behind the window replacement rather than focusing only on the products themselves.
Measurements are also important. Even windows that appear standard may have slight variations because homes settle, frames shift, and older construction methods differ from newer ones. Accurate measurements help reduce delays and support a cleaner fit during installation.
Choosing the Right Window Options
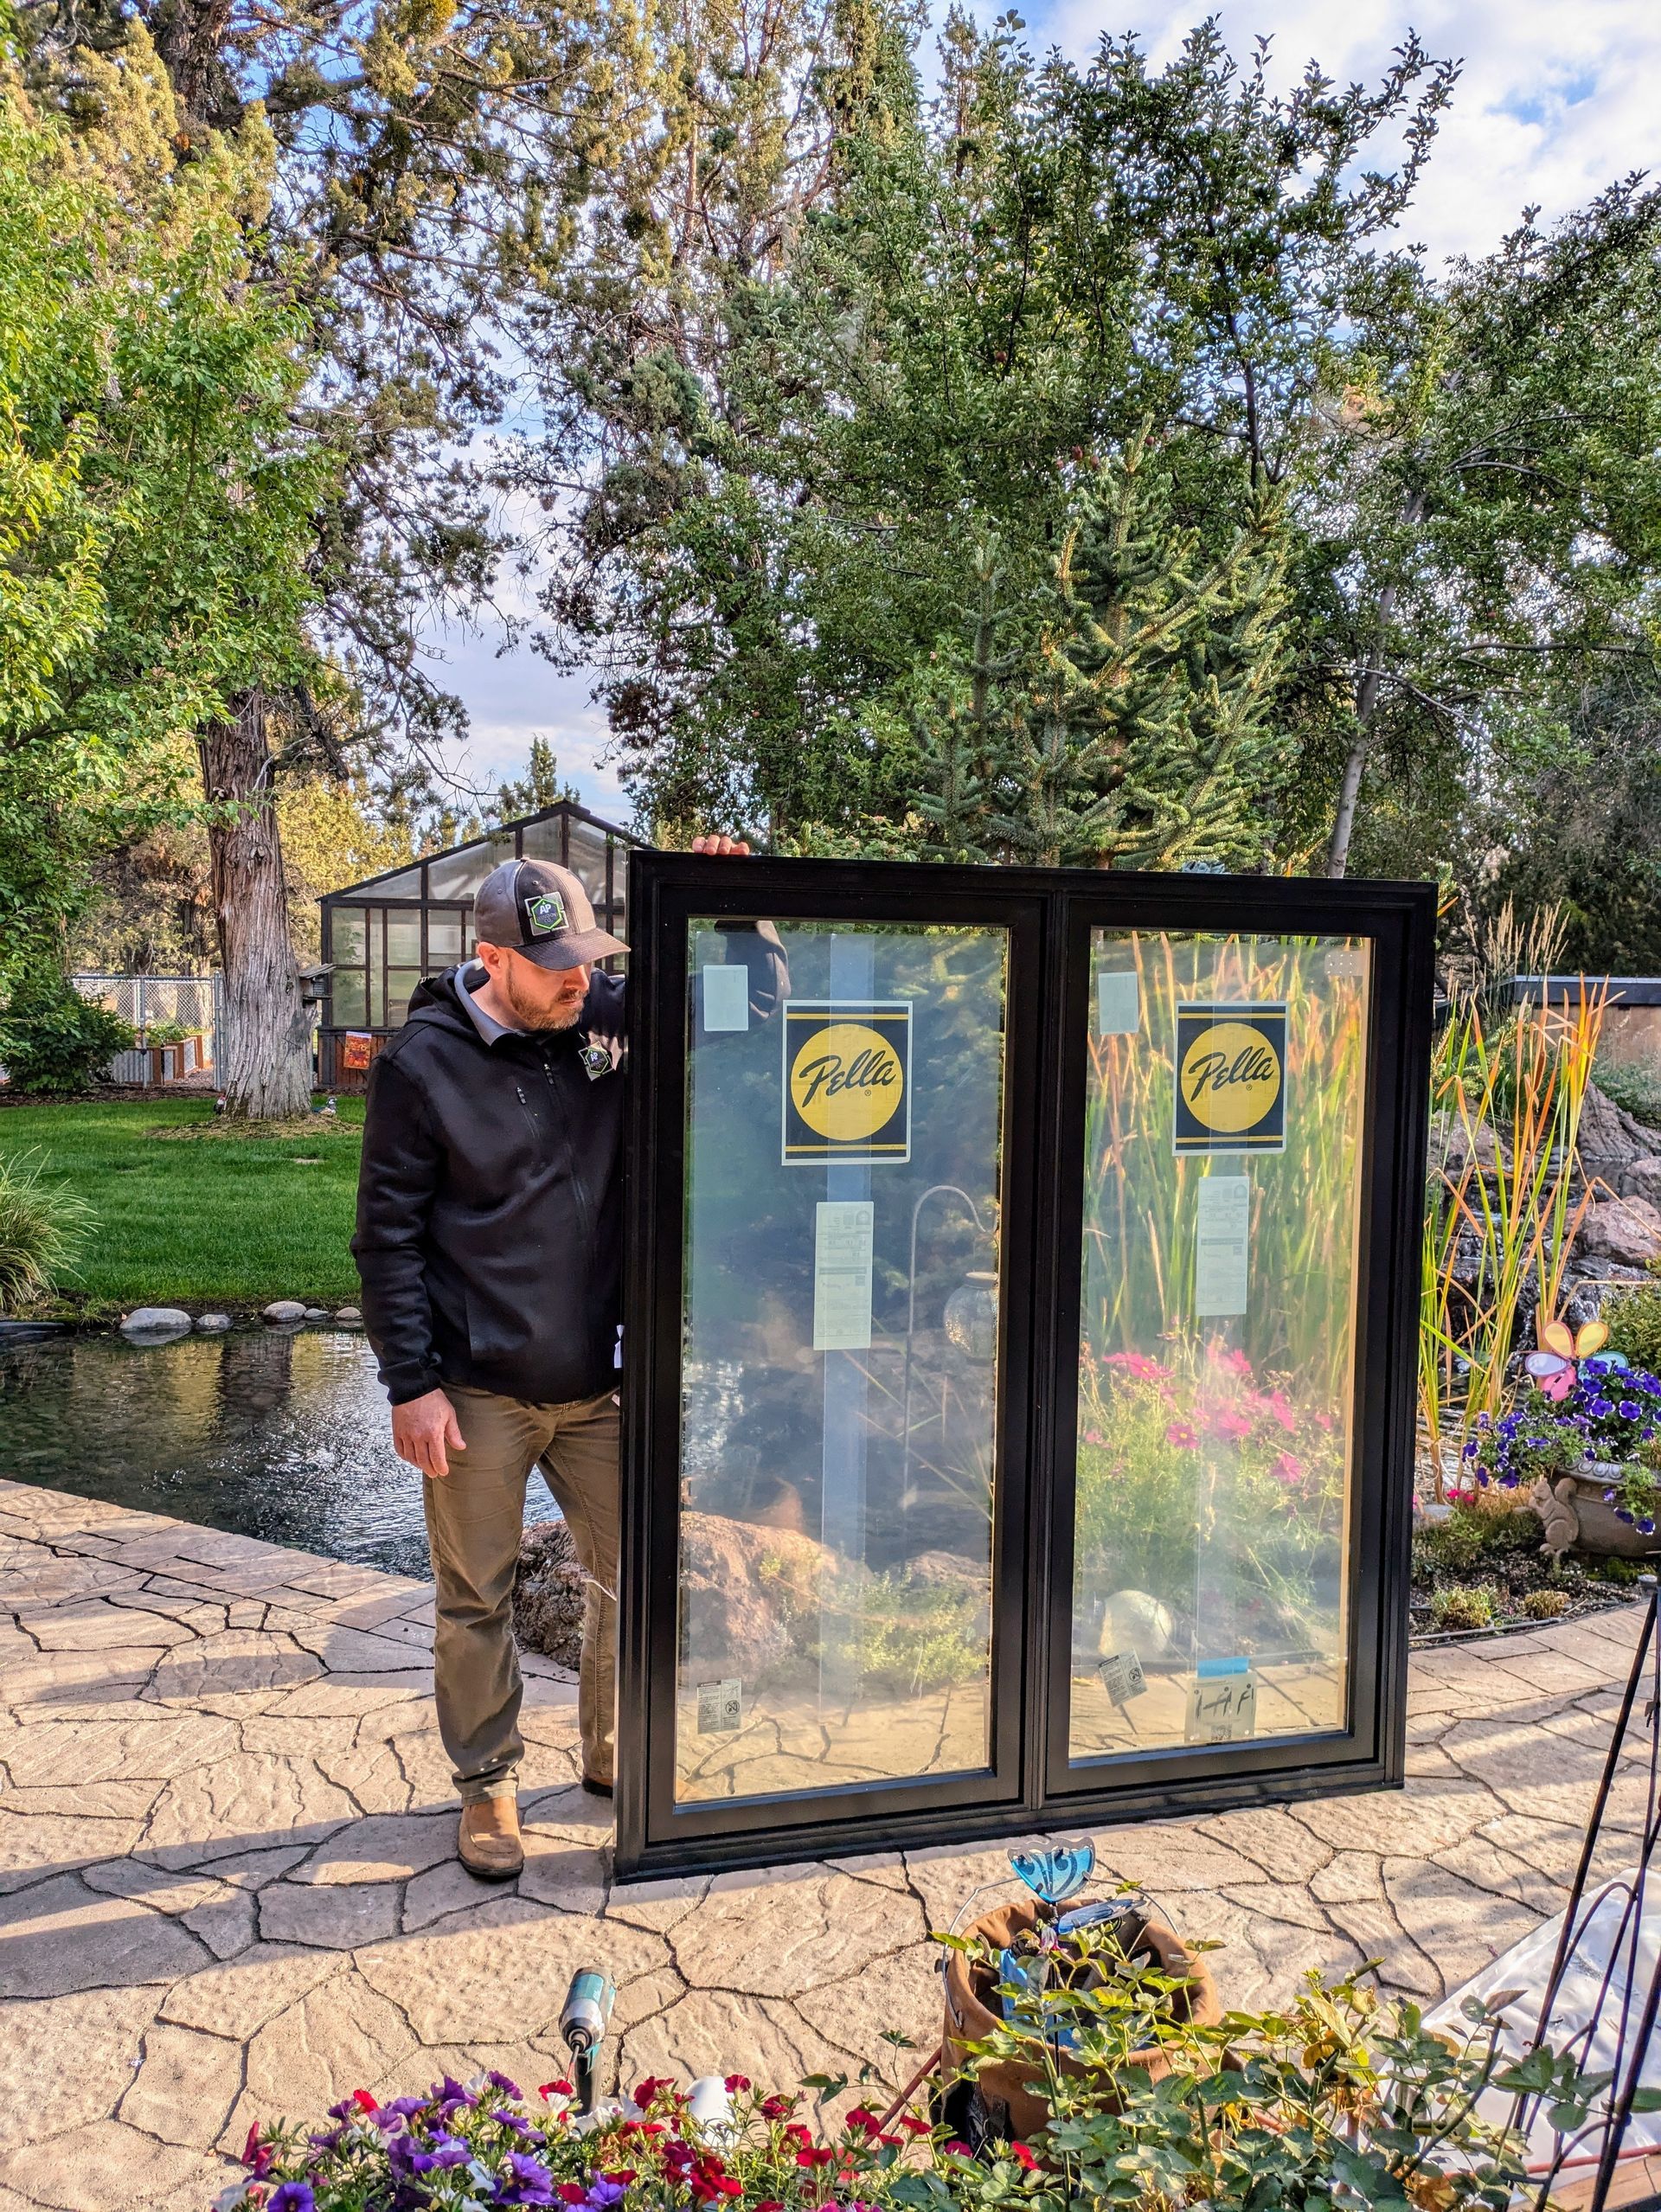
Once the current windows have been reviewed, the next step is choosing replacement options that fit the home, budget, and desired performance. Homeowners may compare frame materials, glass packages, grid patterns, colors, operating styles, and energy-efficient features. Common styles include double-hung, casement, sliding, picture, bay, bow, and specialty windows.
This is also a good time to ask how each option may affect maintenance, ventilation, light, privacy, and the look of the home. For example, a large picture window may bring in more natural light, while a casement window may provide strong airflow in a kitchen or bathroom. A professional can explain how different products function so the final choice supports both appearance and everyday use.
Energy performance is often part of the decision. According to Futuremarketinsights.com, the residential energy-efficient windows market is expected to grow from USD 12.4 billion in 2025 to USD 28.0 billion by 2035. That growth reflects how many homeowners are paying closer attention to comfort, efficiency, and long-term value when planning a window replacement.
Preparing the Home for Installation
Before installation day, homeowners may need to complete a few simple preparation steps. Furniture, curtains, blinds, wall décor, and fragile items should be moved away from each window. Installers need room to work safely, carry materials, remove old units, and bring in the new windows without obstruction.
The exterior may also need attention. Patio furniture, planters, decorations, hoses, or lawn equipment near the work area should be moved when possible. If the windows are on upper floors, the crew may need access for ladders or other equipment. Clearing these spaces in advance can help the window replacement stay organized and efficient.
Homeowners should also plan for noise, dust, and temporary changes in room access. While professionals usually take steps to control mess and protect surfaces, replacing windows requires cutting, removal, fastening, sealing, and cleanup. Pets and children should be kept away from work zones for safety.
Removing the Old Windows
On installation day, the crew typically begins by protecting nearby surfaces and confirming the project details. Depending on the home and window type, the installer may remove sashes, stops, hardware, trim, or the full existing frame. The exact method depends on the condition of the current window and the type of replacement being installed.
This phase can reveal hidden issues that were not visible during the first inspection. Water damage, soft wood, poor insulation, or previous installation problems may need to be addressed before the new window can be properly set. A professional should explain any concerns clearly and recommend the right next step.
Careful removal matters because it helps protect the surrounding wall, siding, and interior finishes. The goal is not only to take out the old unit but also to prepare the opening for a secure, level, and weather-resistant installation. When this part of window replacement is handled properly, the new product has a stronger foundation for performance.
Installing the New Windows
After the opening is prepared, the new window is placed, leveled, squared, fastened, insulated, and sealed. These steps are critical because even a high-quality window may not perform well if it is installed incorrectly. Proper alignment helps the window open and close smoothly, while insulation and sealing help reduce air leaks and moisture concerns.
Installers may use flashing, sealant, shims, foam, fasteners, and trim components depending on the project. The exterior must be finished in a way that helps direct water away from the opening, while the interior should look clean and complete. The crew may also reinstall or replace trim as needed.
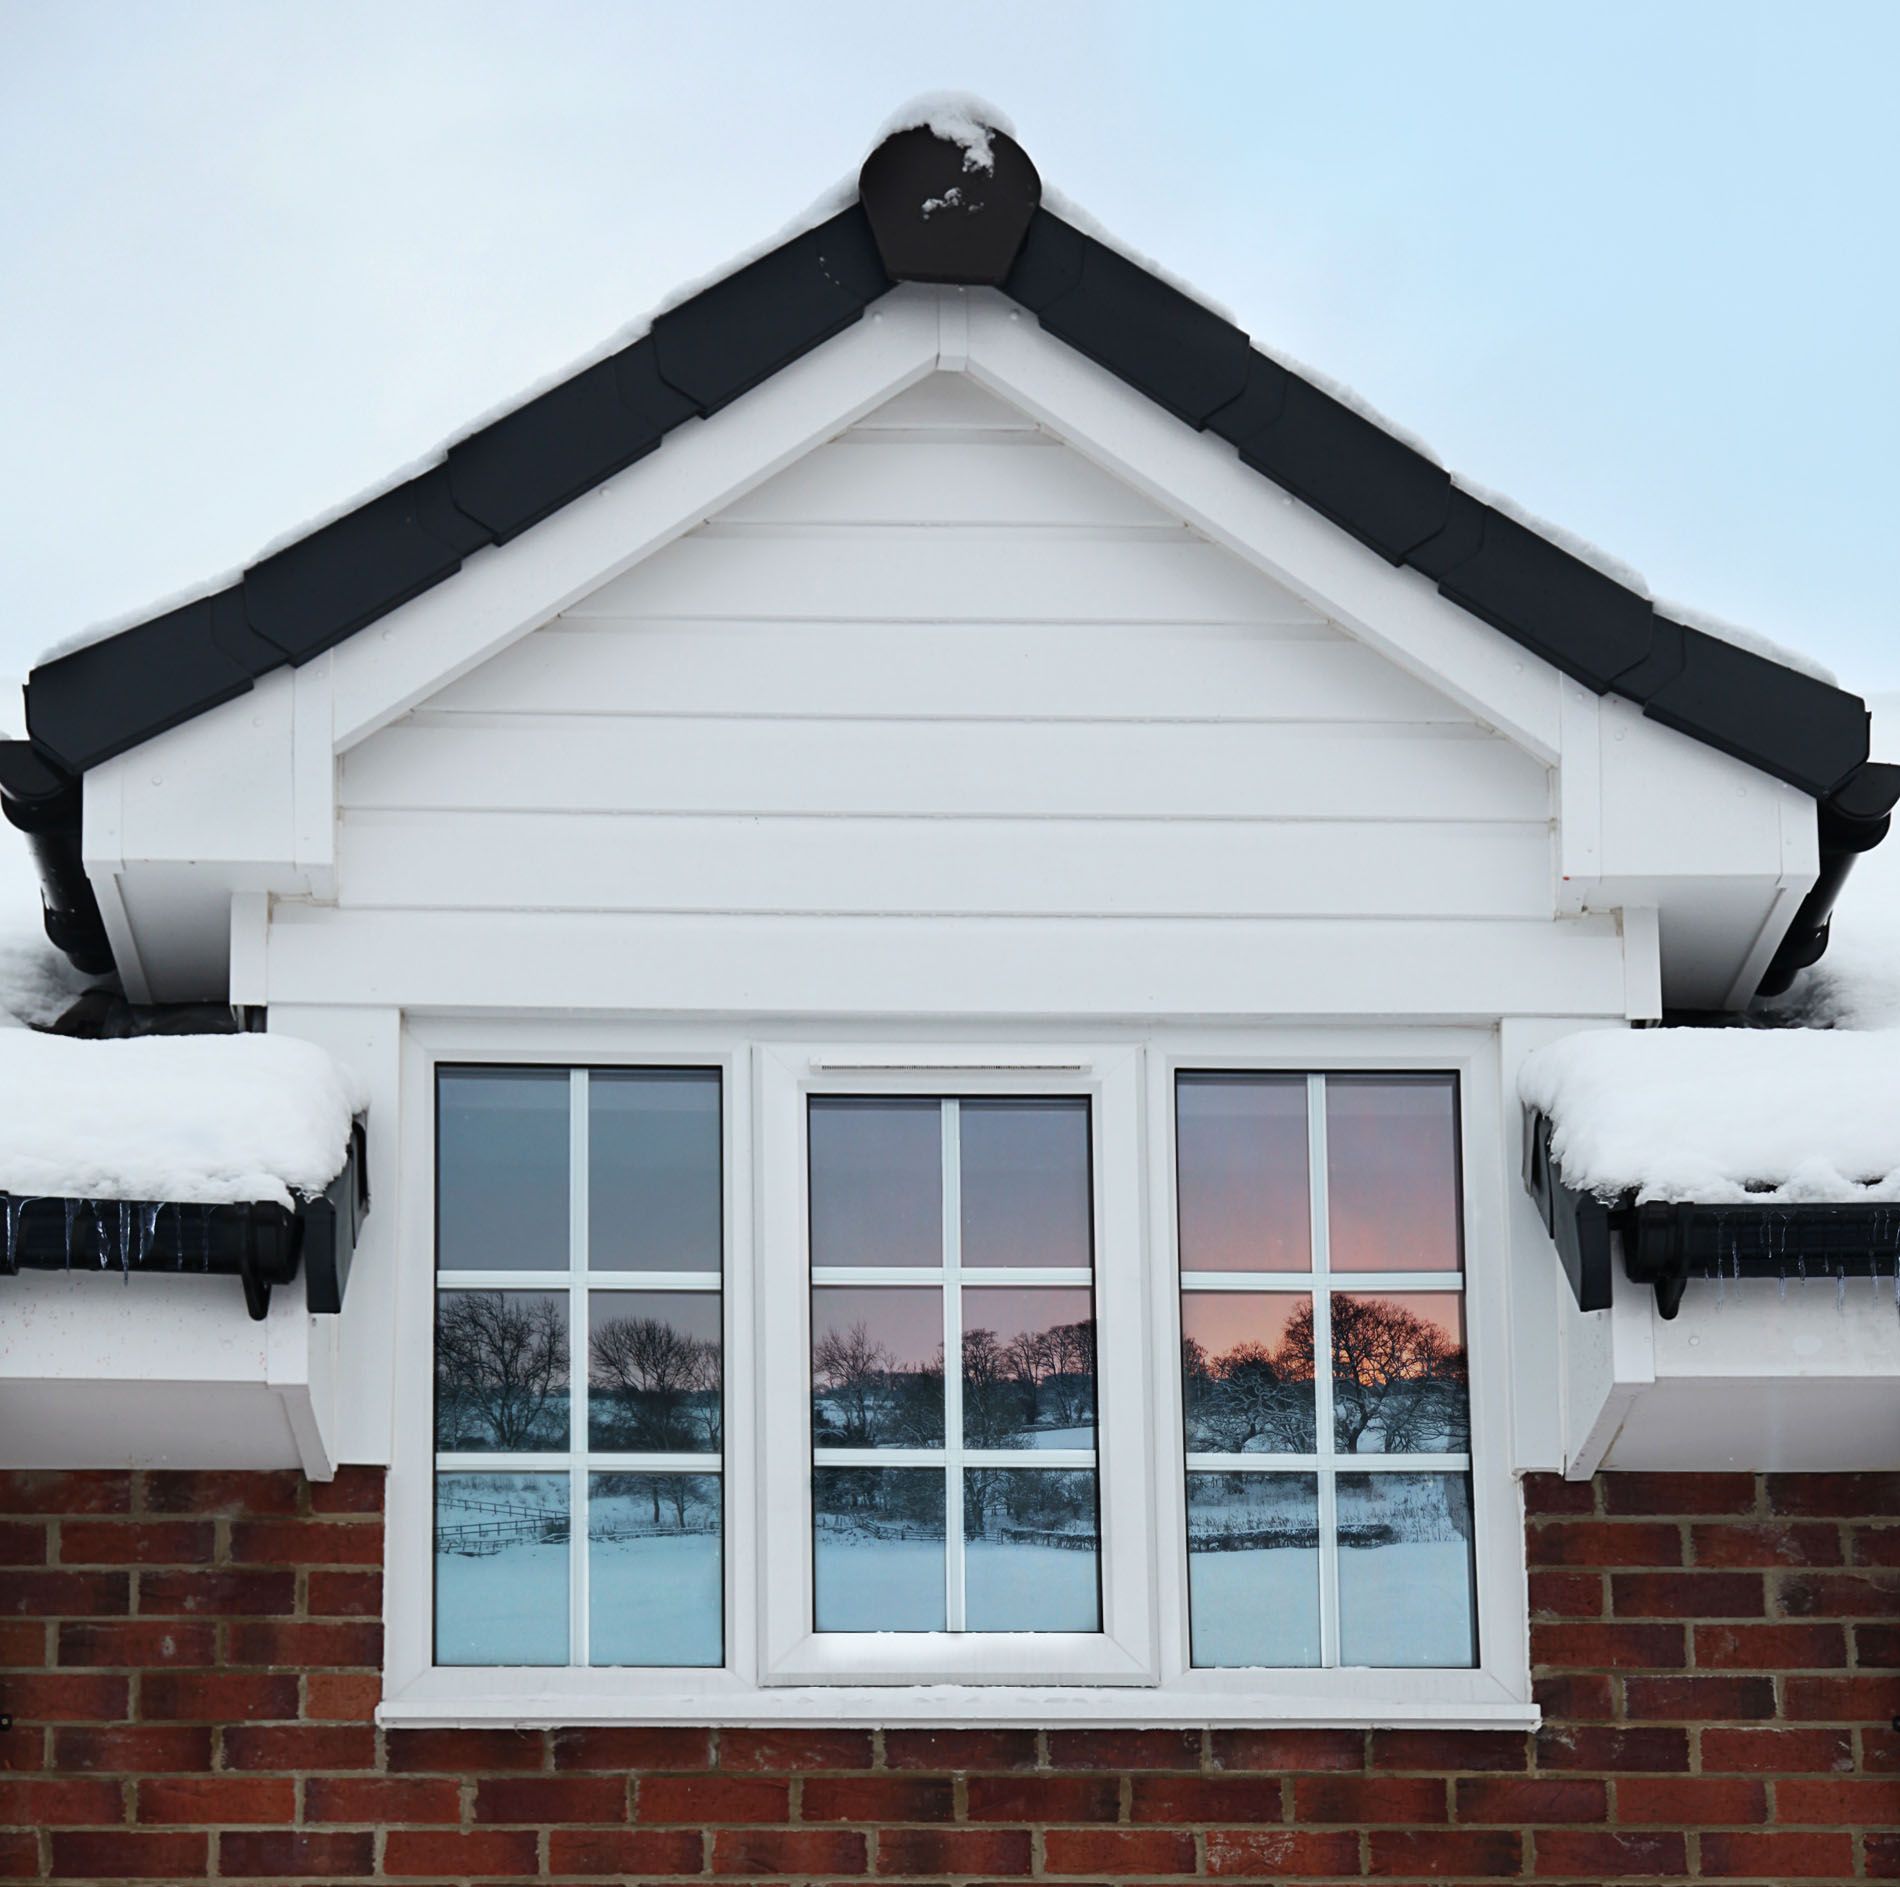
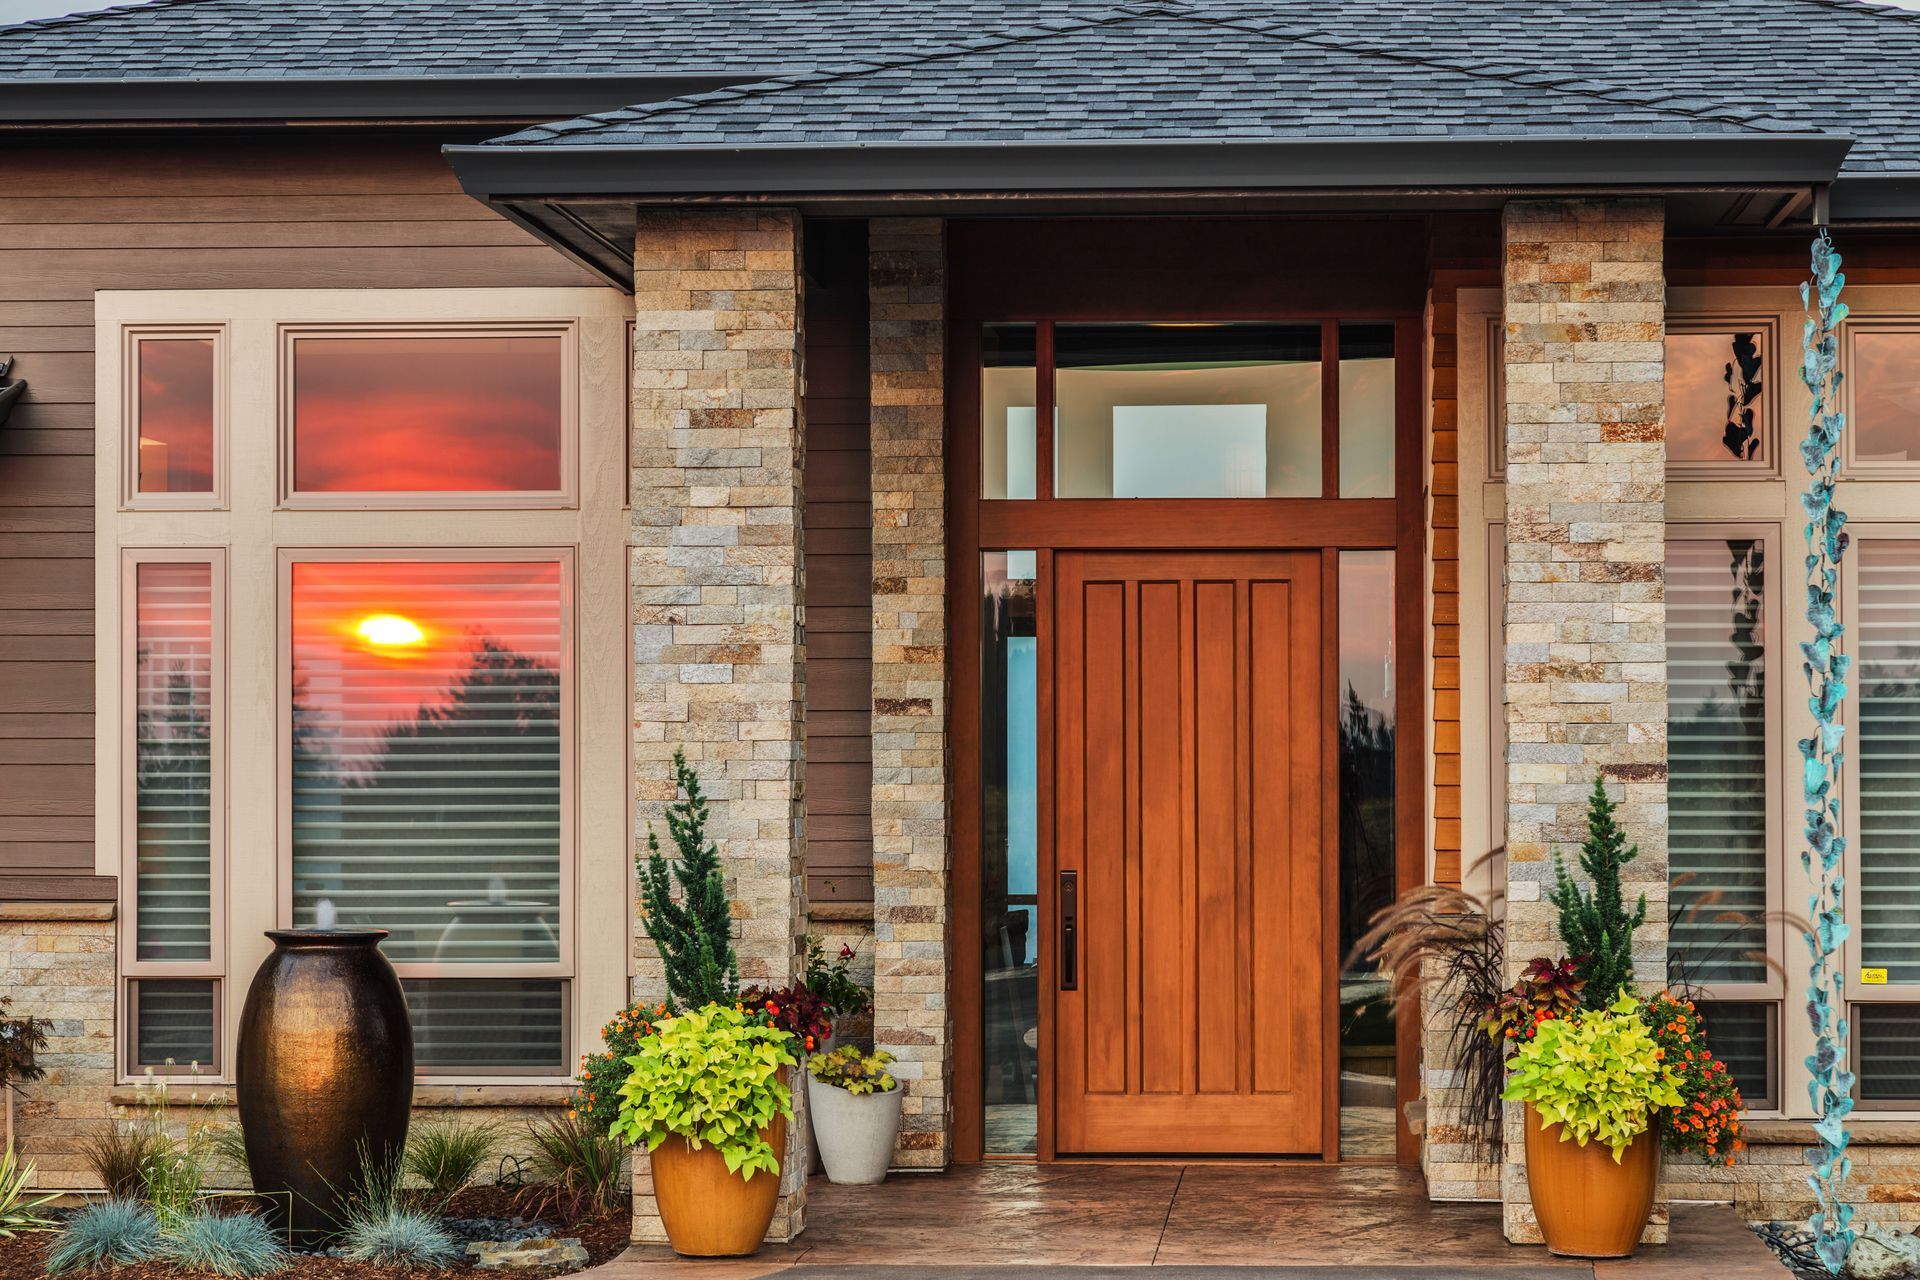
A professional window replacement should balance function and appearance. The new windows should sit evenly, operate correctly, and blend with the home’s interior and exterior style. Homeowners may notice that rooms feel brighter, cleaner, and more finished as each opening is completed.
Checking the Finished Work
After installation, the crew should inspect the completed windows and remove debris from the work areas. Old windows, packaging, excess materials, and installation waste are typically collected so the home is left neat. The team may also clean the glass or remove labels, though final touch-up cleaning may vary by company.
The final walkthrough is an important part of the project. Homeowners should see how the windows open, lock, tilt, slide, or crank, depending on the style selected. This is also the right time to ask questions about cleaning, maintenance, warranties, condensation, screens, and proper operation.
A final inspection helps confirm that the window replacement was completed according to the planned scope. The installer can check seals, locks, trim, caulking, and alignment before the project is considered complete. Homeowners should keep paperwork, warranty details, and product information in a safe place for future reference.
Enjoying the Long-Term Benefits
Once the project is finished, homeowners can begin enjoying the practical and visual benefits of their new windows. Many notice improved curb appeal, easier operation, more natural light, and a fresher look throughout the home. Depending on the products selected and the condition of the previous windows, they may also experience fewer drafts and better indoor comfort.
Window replacement can also support long-term home maintenance. Replacing damaged or outdated windows may help reduce moisture problems, improve sealing around openings, and make cleaning easier. For homeowners planning to stay in their home, these everyday improvements can make rooms feel more comfortable and easier to manage.
Knowing what to expect helps the project feel less overwhelming from start to finish. With clear communication, proper preparation, careful installation, and a detailed final walkthrough, homeowners can feel confident about the process and the investment they are making in their property. Call AP Window Co. today to schedule your window service.